The Case of my NIGHTMARES!

Share:
Table of contents
This is the Zadak Moab II Elite case, it is a really ambitious concept of integrating watercooling inside the the actual frame of the enclosure. Yes, you heard correctly, the frame is the distribution block for the water cooling. I appreciate their ambitious direction, but this is one of the worst experiences I have had building a computer in a really long time. The problem is that from the very beginning of unboxing this case the experience didn’t feel as premium as it should be for the expected price point.


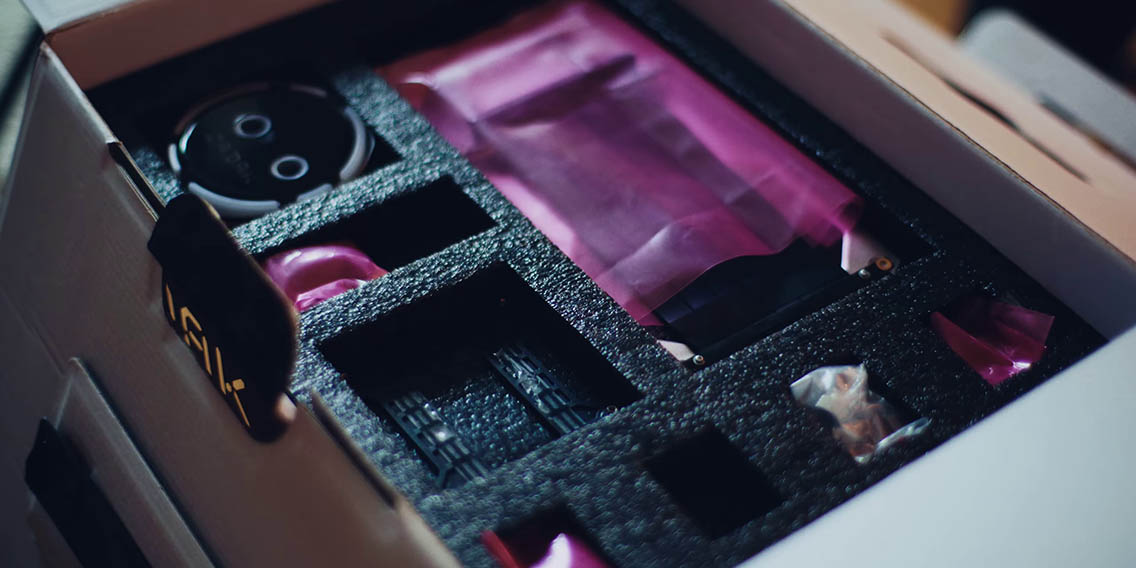

Truthfully, I don’t even want to tell you the price until the very end of the review. This thing doesn’t even come with an instructional manual, so that should be your first little light bulb moment that this might not be as premium a case as it should be. What you see behind me is actually the second case because I had so many issues with the first model I had to get the replacement. It really pains me to bring down this brand and this product, because the concept is so cool, but my gosh the execution here needs to be refined on literally every level.
Design & Build Quality


First of all, let’s begin with the design because I love this open concept of an enclosure. I would love to see more of that in 2021. The entire left side of your components, like your motherboard, the CPU block, and the GPU will be completely exposed giving you the showpiece element, which I appreciate. I have assembled a system with the ASUS ROG Z11 case, which is all about showmanship and displaying your hardware and that is exactly what we have here with the Zadak enclosure as well.


The GPU is in the vertical orientation and completely open air, so GPU temperature should be absolutely perfect in terms of it simulating an open-bench environment. Up to 280mm GPU’s are supported, so GPU length is a bit of a limitation. The case supports up to a Micro-ATX motherboard, which I would say is a limitation. Micro-ATX motherboards are not popular, and with an ITX motherboard it feels like half of the case is a bit wasted in terms of size. Compatibility for most Micro-ATX and Mini-ITX motherboards should not be a problem given the modular design of the CPU block.


I do understand that going with ATX motherboard support would make the case much larger and it would require additional tooling for distribution blocks and cutouts of the actual frame, because that is where the water flows. You can actually see where the water channels are because of the aluminium covers on top. On the right side we have that exposed 240mm radiator and a PSU chamber at the bottom that supports up to SFX power supplies. A drain port is included, but it is right in front of the power supply. It is good that it is the bottom so the liquid can simply exit, but it is in a really awkward spot for the liquid to drain cleanly. It has been a mess every time I tried it.
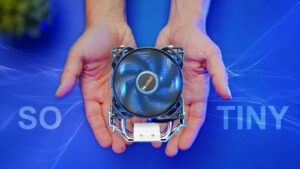
Size


Size-wise it is pretty compact, about the same height as my Corsair ONE. It is much smaller than the ASUS Z11 and definitely much smaller than the 4000D Airflow mid-tower. Now this case concept and design first came out in 2018, which I think shows it. To me it looks a bit dated, I would love to see a more simplified approach in cleaner lines and less gamer-y aesthetic. I think I actually think the case looks better without the additional external silver pieces, which I think are a bit unnecessary and tacky.
Issues


Also as part of the external design is the capacitive touch power button that you slide from top to bottom to power on. As a concept it’s kind of futuristic, but on both the first and this replacement model the power button did not work until I got the replacement button and actually swapped it out. Only then could I finally take advantage of the capacitive swipe.


On the right side below the radiator we have the temperature meter that measures the water temperature inside the enclosure, and it’s kind of cool and futuristic as a concept, but you cannot reassign it to display CPU temperature so it is very limited. There is an RGB controller behind the GPU that is SATA powered, and that is where you plug in the CPU block and the case lighting. Now unfortunately you cannot actually change the lighting effects, it’s just constantly spinning rainbows, and that is just unacceptable for a a 2020 release. You could disconnect them and plug them directly into the motherboard for software control, but that is one element that is really not well thought out here.


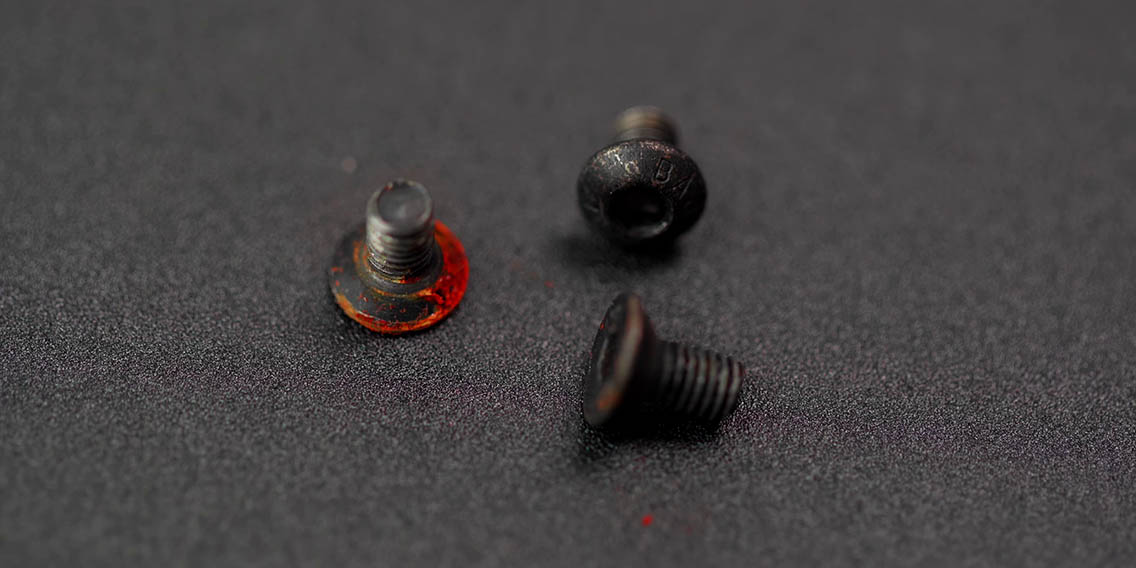
Moving on the list of non-acceptable items, some of the screws on the exterior that you have to remove in order to pop off the top panel were not all the same length, which I found really odd. There were also water spots around the enclosure, and the pump on my first unit did not actually work. I then realized that my first copy was not a fresh enclosure, it was first sent to someone else to work in and they sent it to me, and as a result some of the misaligned screws were actually a human error from the previous user. I’m not sure what happened with the pump, but I was told that they over-tightened the pump for shipment, but I don’t know why that was necessary because there is no liquid inside the case when it arrives to you. Not to mention one of the screws had the rust on it, which I found really bizarre, but after finding out that somebody else had worked on it it all made sense.
The Liquid Cooling


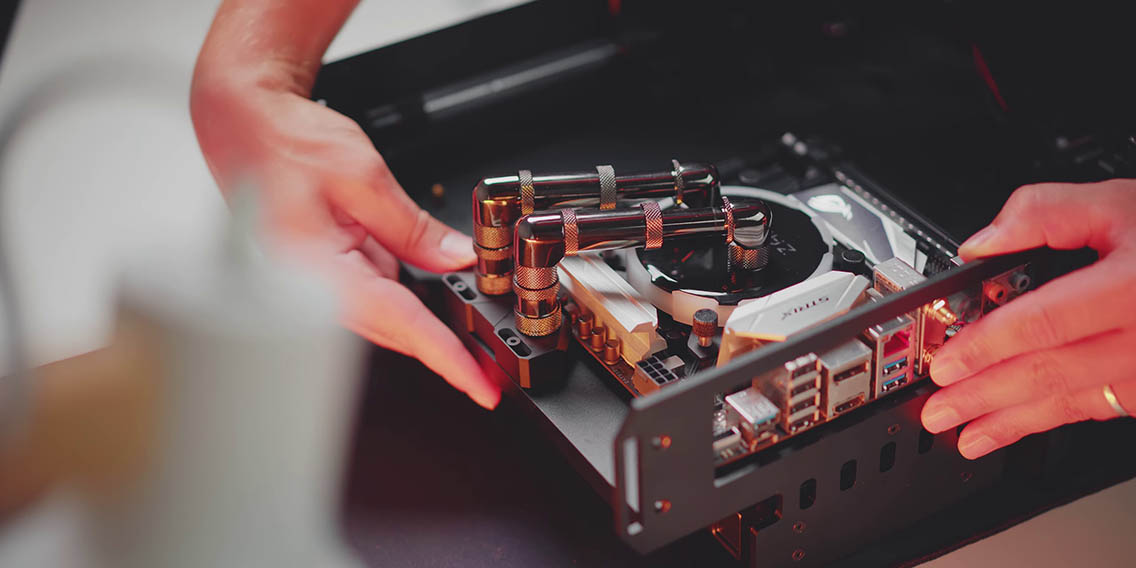


As for the CPU block, here are all the components that it comes with. It is compatible with Intel LGA1200/1155 socket, plus AM4 with Ryzen. We have all the appropriate 90 degree fittings that you connect to the CPU block and the distribution plate, plus small and large extension tubes that give a lot of flexibility on how far the CPU block should be away or close to the distribution plate. One really cool part is the modular piece into which you connect the CPU block gives you a lot of angular mobility. In my installation the tubes are quite angled, but they might not be depending on your motherboard. They could go straight down or move both left or right. Because there is no instructions menu, I had to figure out how to mount the CPU block to the motherboard, which was pretty intuitive if you have built a system with an AIO installation.


I also have some water cooling experience, so figuring out the fittings was pretty self-explanatory, but for a product that is priced this high you should expect some handholding from the brand to make sure you do not make any mistakes in the process. For example, on the fill port on top side of the case, I actually mounted a 90 fitting there just to have an easier time filling up the distribution plate inside the case. I had no idea how much liquid I needed to fill up, there is no instructions manual, and there is no liquid that is included with the case, so you need some DIY in there either by distilled water or some actual liquid coolant.


When I finally got it to work, the sound I heard was a bubbly waterfall effect is definitely not natural. If you look at the design of the distribution plate inside the frame you can see that the water – after it enters the CPU block – exits the CPU block and the drops into this opening that is basically the reservoir inside the frame. Obviously that fall of the water will produce this waterfall effect, because it’s not a gentle entry into the reservoir, it’s literally falling water. After several calls with the engineers they assured me that this wasn’t anything faulty, and perhaps if I put the top plate back on it would dampen some of the sound, but obviously it didn’t. On my replacement model I’m experiencing exactly the same issue at 100% pump speed.
Cable Management


I feel like the user experience element has just been completely thrown out of the window, because when it comes to the assembly there are no cutouts behind the motherboard to route your 8-pin CPU cable and the 24-pin ATX cable so they are exposed. I did route them behind the reservoir tube so at least they are somewhat hidden, but this isn’t going to be a very pretty enclosure. The cables for the power button are short and they are red and black, so obviously they are going to be visible and they are difficult to hide. You also notice the case does not have any I/O aside from the power button. All your USB connections and your audio will have to go through the back of the motherboard. The case does not come with any fans, and that aluminum guard for the fans is just extremely tedious to mount.
Cooling Performance


I understand the cool factor of this being an open-style chassis, so GPU temperatures are totally under control, but unbelievably CPU temperatures are not any better than having a simple AIO cooler on a standard ITX enclosure. When I reduced the pump speed to 50%, the performance was really not good. I blacked out the GPU temperatures on purpose since they don’t really matter given that there is no restriction in this case.
Conclusion


This brings us to the last point, which is about the price. I hope you have been on the edge of your seat up to this point because this thing is expected to hit $999 USD. It has been really difficult working with this case knowing the price point, and the complete disregard for the user experience and making sure that the user is satisfied from every level. On top of that, the cooling performance – even with this intricate custom water cooling design – is just so bad. You might as well just spend a $100 on an all-in-one liquid cooler that will be better performing and 100% quieter too, plus it will come with fans. The only positive thing about this enclosure is that I hope other companies take note and maybe try creating something similar that uses an open-style concept and integrates water distribution plates inside the frame. While it’s a cool concept the Zadak Moab II Elite case is just a complete waste and at $999 I could never recommend it.
Buy items in this review from Amazon at the links below: ASRock Z490 ITX – https://geni.us/Z490ITX