Finally Something DIFFERENT is Coming!

Share:
Table of contents
It’s not often we agree to receive prototype enclosures or products in general, but it’s the week of CES so we are giving it a shot.


The MasterFrame 700 is actually very interesting enclosure because it’s basically an open frame or it can be converted into a test bench. And it comes with a serious piece of tempered glass.


These are all the components, included a serious piece of tempered glass, so now it’s time to assemble. First, we are going to start off with an open air build in which all your components are visible and we get utilize that beautiful glass piece.


This is one of the coolest frames I have seen in 2021. Cooler Master is going to be amazing this year if they continue with these fresh ideas. I love the NR200, my highly reviewed case of the year, but the MasterFrame 700 has something so unique about it. First of all, if you are the type of person who will complain about dust accumulation you already know this is not for you.
Build & Design


This case is so interesting, look at these side panel wings on the side that can mount a 360mm radiator. Unfortunately we don’t have any holes for 140mm fans on either one of these wings. The wings are labeled at the top and at the bottom as well to make assembly and installation much easier. And it’s cool because they can kind of collapse into the frame or they can full rotate to the back if you want to go with that orientation.


It has a massive motherboard tray with support for Mini-ITX, Micro-ATX, ATX and even larger motherboards. I’m going to mount a ITX motherboard in here. It’s kind of strange, but we have two power supply brackets, one can be installed at the bottom while another one can be installed in the upper section of this case. I guess you can install two power supplies in here if you wish, but I’m going to be mounting mine at the bottom. Because everything arrives in parts and the assembly procedure is relatively straightforward it’s easy to mod, paint, and wrap the various parts, so you can really make this a custom personalized build.

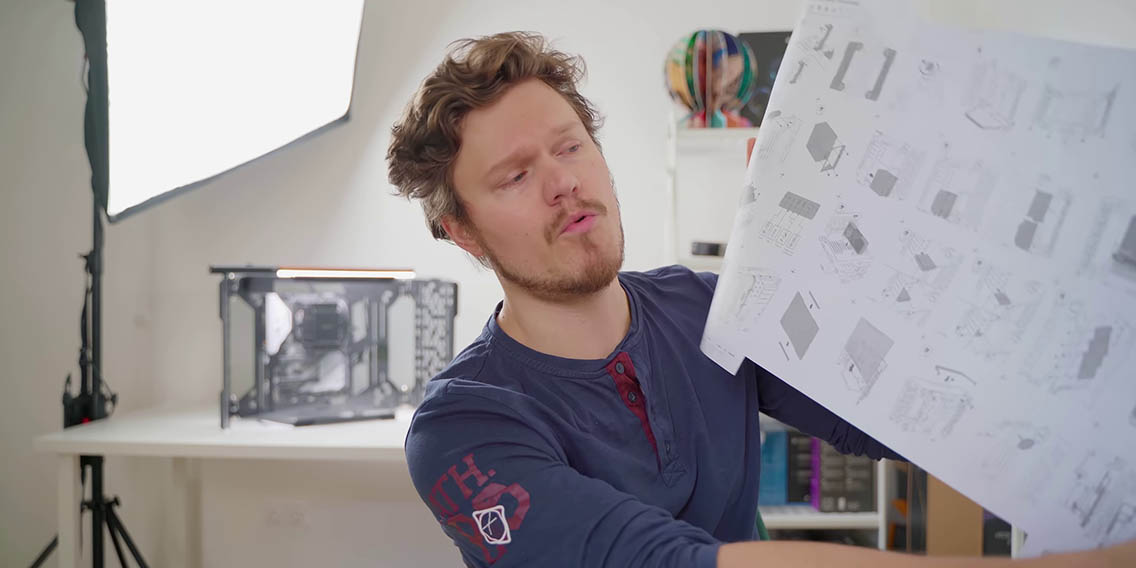


All the screws and everything like that comes in non-reusable bags, which is unfortunate. In terms of assembly everything is pretty straightforward, but the instruction sheet is a bit 2D so you kind of have to orient it yourself. Thankfully there are markings on the actual frame onto which you install the PSU bracket for example, and there is markings for the test bench system configuration. We also have a 100mm VESA amount, which is super unique, so you can wall mount your entire system and showcase all your components. However, Cooler Master recommends under 14kg for the entire system if you are wall mounting.
Features


Cooler Master has thought of a unique way to make sure that your case doesn’t scratch the surface by including these little rubber bits that you install at the bottom of the wings and motherboard. It keeps the whole build stationary and it gives me confidence that my table has not been scratched yet. Having said that, you can clearly see that this front section is elevated. This is where the tempered glass is supposed to go, and it does not make contact with the table surface, only the actual frame does, but from what I can tell even when pressing on it stays in position.


I think the benchmark built for this enclosure is to do a 360mm radiator on each wing to do a crazy water cooling setup, a beautiful motherboard, maybe a multi-GPU configuration, but really the most important thing here is your hand at cable management because everything is so exposed and open. You do have some channels with velcro that will help you guide some of the thicker cables and you can bunch everything, but you are going to need some skill to make everything look right. For example, the I/O, it’s great that we have USB Type-C Gen2 and dual USB 3.0 ports that are blacked out, but the visible cables are an eyesore so wish me luck for this build.
Installation


When it comes to installing the front panel you have to be careful because the bottom lip can’t support the glass by itself, you have to install the top lip right afterwards as the final step of finishing the system. You also have to make sure the glass is clean on both sides because there is no easy way to handle it without getting fingerprints all over the place. Plus cable management is going to be your enemy when it comes to making this system look it’s best, but maybe RGB components and fans will be your friends.


After the system has assembled you will want to focus on the back section, because obviously the case is going to be quite chunky from the side perspective so you have to really figure out how you are gonna manage all your cables because there is no power supply shroud, there is no cap for your cables that will be exiting into the main chamber, but theoretically the back of the case shouldn’t be visible to anyone. You really just have to make sure that the front is as beautiful as you can make it.


In terms of size, with the wings collapsed it’s much smaller than the Meshify 2, but it’s not really meant to live with the wings closed because both the wings support the frame so it doesn’t fall over and they are very much part of its structural integrity. The wingspan will add to the footprint, but because they have such a large angle of rotation it opens up possibilities for just really cool hard line pathways for custom water cooling. It also has heavy duty flexible hinges, so you can tighten them if you want to lock everything in place or you can loosen them up a bit to make assembly easier. This very much encourages experimentation with the MasterFrame 700 and should ensure that you won’t just have another boring system.


Beside the motherboard there are also vertical pump mounts and there is a quite a bit of storage behind the motherboard tray with this rear bracket onto which you can install four SSDs or 3.5-inch drives. Plus there is an angled bracket for SSDs only if you install the power supply in its top position.
Test Bed Configuration


Now I think it’s time for us to turn this into a test bench and see how it holds up. The assembly or reorganization process is simpler than I thought, you mainly have to rotate the support structure so that the wings are not at the front but are at the back instead. Next you just have to remount the I/O panel.


Here is the MasterFrame 700 in a test bench configuration and I think it looks pretty sweet. You can mount fans or radiators on the wings, and they still have a lot of mobility. If you don’t want to utilize the wings you can just bend up and they form a little wall protecting the system from the sides. One cool thing is that we have an additional radiator mount at the top of the motherboard tray via an included bracket. Overall this is nicely open build, so if you have to replace your graphics card, replace a cooler, or really anything it’s all easy. The only downside is that it occupies a lot of space if you keep the wings wide open. You can also just remove the wings entirely if you want to maximize desk space. The only thing you sacrifice in the test bed mode is not being able to use that massive tempered glass side panel, there is literally no way for you to use it when it’s in this orientation, but you are probably gonna buy this case to build some insane beautiful enthusiast system and utilize that open build configuration.
Conclusion


So those are my thoughts of the Cooler Master MasterFrame 700. As soon as we find out about pricing, availability, launch date we will let you know, but it’s really impressive what Cooler Master was able to deliver with the MasterFrame 700. It’s not necessarily something that I would gravitate towards because I don’t do crazy showcase builds, but for people who do this is a really cool opportunity to customize because of all the modding opportunities. The side panels wings that modulate how far or close your tubing can go which is something that we haven’t seen on any other showcase PC yet.


I really hope that when the final retail units launch we will have better solutions for all the screws, maybe like a little box to sort everything. Also I would like a slightly more readable user manual, something that is not just a massive sheet and is a bit clearer. Overall, I cannot wait to see what people do with the MasterFrame 700. The right people with the right skillsets and good hardware will be able to create some awesome eye-opening builds.